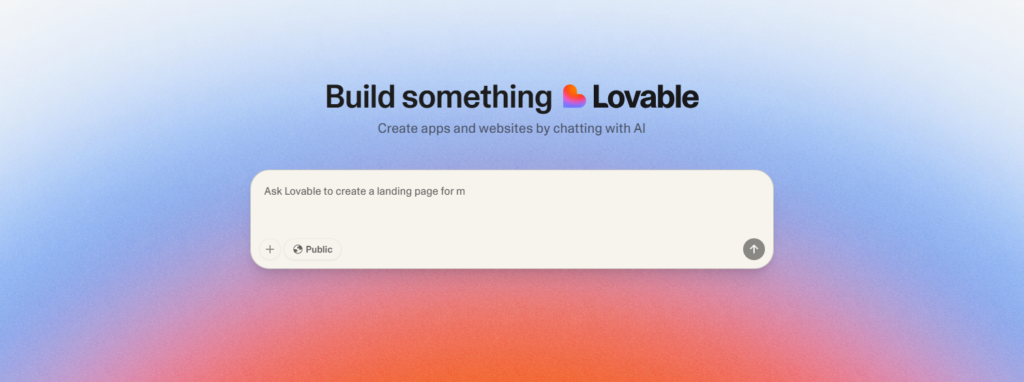
Building a Minimum Viable Product (MVP) has always been about speed, clarity, and real feedback. But with the rise of AI and no-code platforms, the way we approach MVP development is evolving rapidly. One of the tools that stands out in this shift is Lovable.dev — a platform that enables startups and solo founders to design, build, and ship an MVP with AI and without the need to write code.
This guide is written for startup founders, product builders, and technical teams who want to use Lovable to bring an idea to life in days—not months. We’ll walk you through every step, from defining your use case to launching your MVP with AI to real users.
Step 1: Define Your MVP Use Case
Before diving into the platform, you need a sharp definition of what you’re building. Lovable is excellent for:
- AI-driven chat assistants
- Support bots
- Scheduling or booking tools
- Internal tools and dashboards
- Single-user productivity apps
Start with:
- Problem Statement: What problem are you solving, and for whom?
- Core Features: What are the must-haves that demonstrate core value?
- Constraints: Does it need user login, database access, or external APIs?
Lovable works best when the logic is dialogue or prompt driven, and when you can structure the core experience around a small number of screens and logic flows. It is not ideal for multi-user, database-heavy apps or those requiring real-time updates or complex permissions.
Example:
I want to build a tool that helps freelancers auto-generate proposals by answering a few simple questions.
Step 2: Set Up Your Workspace in Lovable
- Create an Account: Go to lovable.dev and create a free account. You’ll land in the dashboard.
- Start a New Project: Click “Create App”. You’ll be prompted to name your app.
- Understand the Interface:
- Prompt Layer: This is where you define how the AI responds.
- Logic Layer: Controls navigation, conditional paths, memory updates.
- UI Blocks: Prebuilt screen layouts, buttons, inputs, outputs.
- Integrations: Connect to Google Sheets, OpenAI API, or external webhooks.
💡 Tip: Use Lovable’s templates to build your MVP with AI even faster—such as chatbots, calendars, or knowledge base bots.
Step 3: To Build an MVP With AI You Need Core User Flows
Think in screens and steps. Lovable apps are made of flows that connect prompt blocks, input blocks, and navigation.
Example Flow: AI Resume Generator
Screen 1: Welcome
- Title Block: “Let’s Build Your Resume!”
- Button: “Start” → links to next screen
Screen 2: Input Questions
- Name, Experience, Job Title (Input Blocks)
- “Generate” button triggers AI prompt block
Screen 3: AI Response
- Prompt Block:
“Using the following info: {{name}}, {{experience}}, {{job_title}}, generate a one-page resume.” - Response Block displays output
- Button: “Copy to Clipboard” or “Download PDF”
Key Features to Use:
- Variables: Dynamically pass user inputs
- Memory: Store answers to use across screens
- Conditionals: Redirect users based on input logic
- API Call Block: Connect to an external system (like Typeform or Zapier)
💡 All logic is defined in natural language in Lovable, meaning you don’t need to know JavaScript to set conditions or trigger actions.
Step 4: Test and Iterate
Now that you have a working flow of your newly created MVP with AI:
- Click Preview to simulate the user journey.
- Use test inputs and check for:
- Missing or confusing fields
- Prompt accuracy (does the AI give the right kind of output?)
- Navigation bugs
- Adjust the prompt text: even small wording tweaks can massively improve clarity and consistency.
- Use the debug panel to see how variables are passed and updated.
💡 Tip: Use system prompts like “Respond in a friendly tone” or “Limit output to 100 words” to tune output style.
Step 5: Share, Collect Feedback, and Ship
Once you’re happy with your MVP:
- Click Publish to get a public share link
- Share with early testers via email or communities (e.g., Slack groups)
- Ask for targeted feedback:
- Was the value clear?
- Was the interaction smooth?
- Would they use it again?
To collect feedback:
- Add a final screen with a Typeform or Google Form link
- Use a text input in Lovable to collect in-app comments
- Track drop-off by watching where users stop in the flow
This early validation is more valuable than months of development.

Step 6 (Optional): Extend the MVP
Once your MVP has traction, you can:
- Add an admin dashboard with conditional logic to manage entries
- Connect a Google Sheet for logging responses
- Set up email notifications using Zapier or Make
- Create multiple flows (e.g., onboarding + content generation)
Eventually, you may outgrow Lovable if you need:
- User authentication with roles
- Complex data relations
- Payment processing
- Multi-user sessions
At that point, you can rebuild using a full-stack framework—but you’ll do it with validated insights that came from building an MVP with AI.
At mobitouch, we help startups turn AI-powered prototypes into fully scalable products—bridging the gap between no-code speed and custom-built reliability.
Conclusion
Lovable.dev is a powerful tool to go from idea to live MVP in hours—not weeks. It abstracts away the hardest parts of building (frontend, backend, prompt engineering) and gives you space to test your assumptions in the real world.
By following this step-by-step guide, you’ve not only learned how to use Lovable—you’ve built something tangible. Use it to get feedback, pitch investors, onboard beta users, or just validate your direction.
Want help taking your Lovable MVP further or integrating it with your existing stack? Mobitouch specializes in turning early prototypes into scalable, AI-powered products.
Let’s talkStart small. Launch fast. Learn faster.


